Resizing groups of photos is very easy if you are using Photoshop. I am using Photoshop CS3 on a Mac in this example. Though I am not sure if this works in Elements, I do know that it works in CS2 on both a PC & a Mac.
Here's the concept: you have a folder full of JPG files and they are all very large. You want to resize all of the photos at once, or you want to create small copies of all of the photos at once, but save it to another location. No problem.
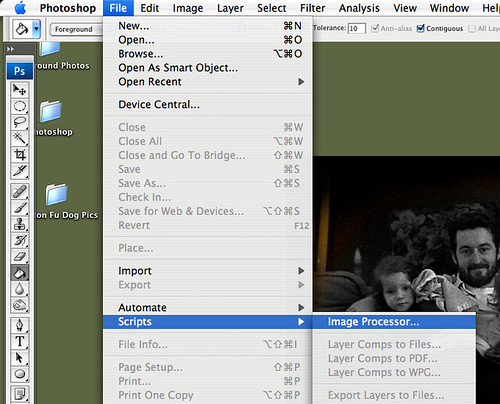
Just click the File menu, and hover over Scripts, then select Image Processor:
A menu will pop up with what looks like several daunting options. Don't worry. All it is asking for is the location of the photo folder, where you want your resized copies to go, and how small you want them. Just follow the numbers on the left. 1, 2, 3.
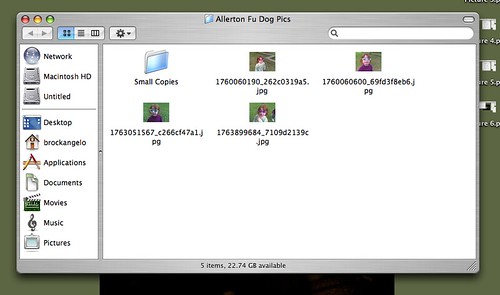
Before I do this, I usually create a folder inside the photo folder and call it "Small Copies" so that I know exactly what it is:
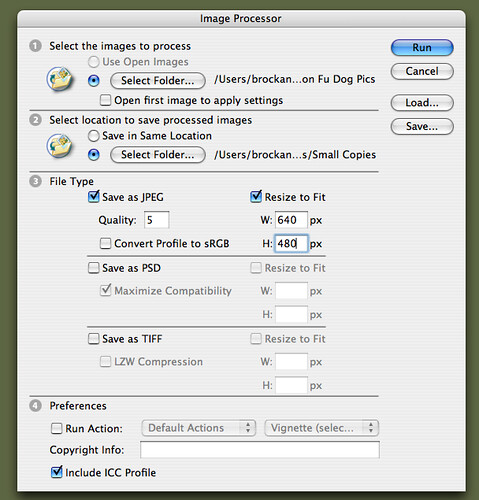
Step 1: Click on "Select Folder" and browse to the location of the folder where your photos are.
Step 2: Click on "Select Folder" and choose the new location where resized copies will be saved.
Step 3: Check the "Save as JPEG" box, then choose a quality setting between 1 and 6. To resize, check the "Resize to Fit" box and enter the dimensions in pixels for your photos. 640 x 480 is a good size for e-mail, or maybe 800 x 600 would work too, if you don't have too many photos you are going to e-mail.
And you're done! Your photos are now copied to the new location and resized, and your original photos are untouched: